Light and Shadow in Street Photography
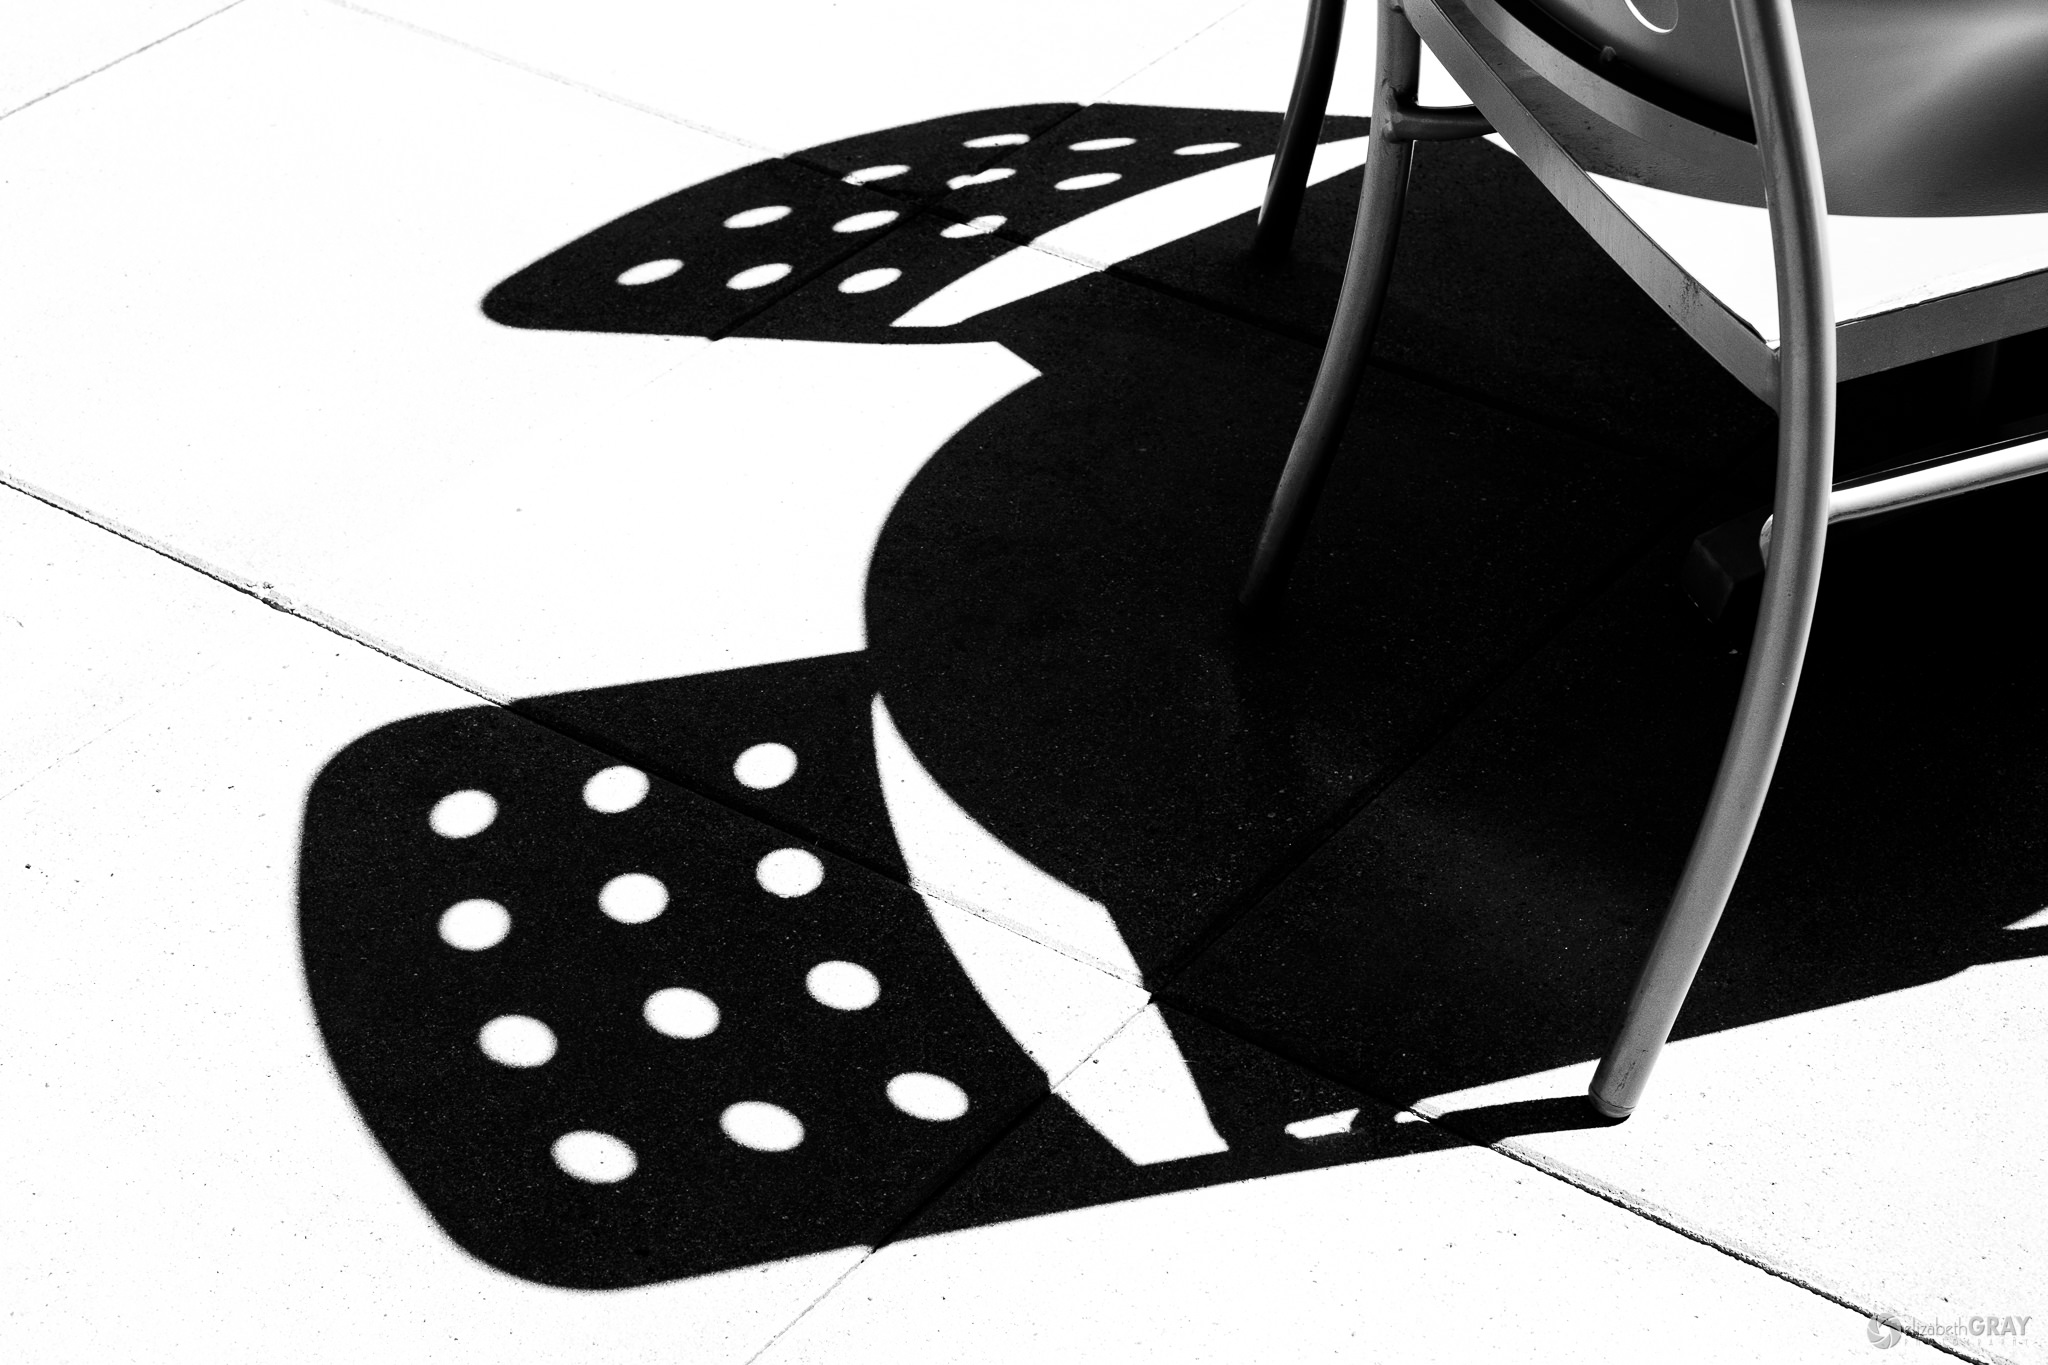
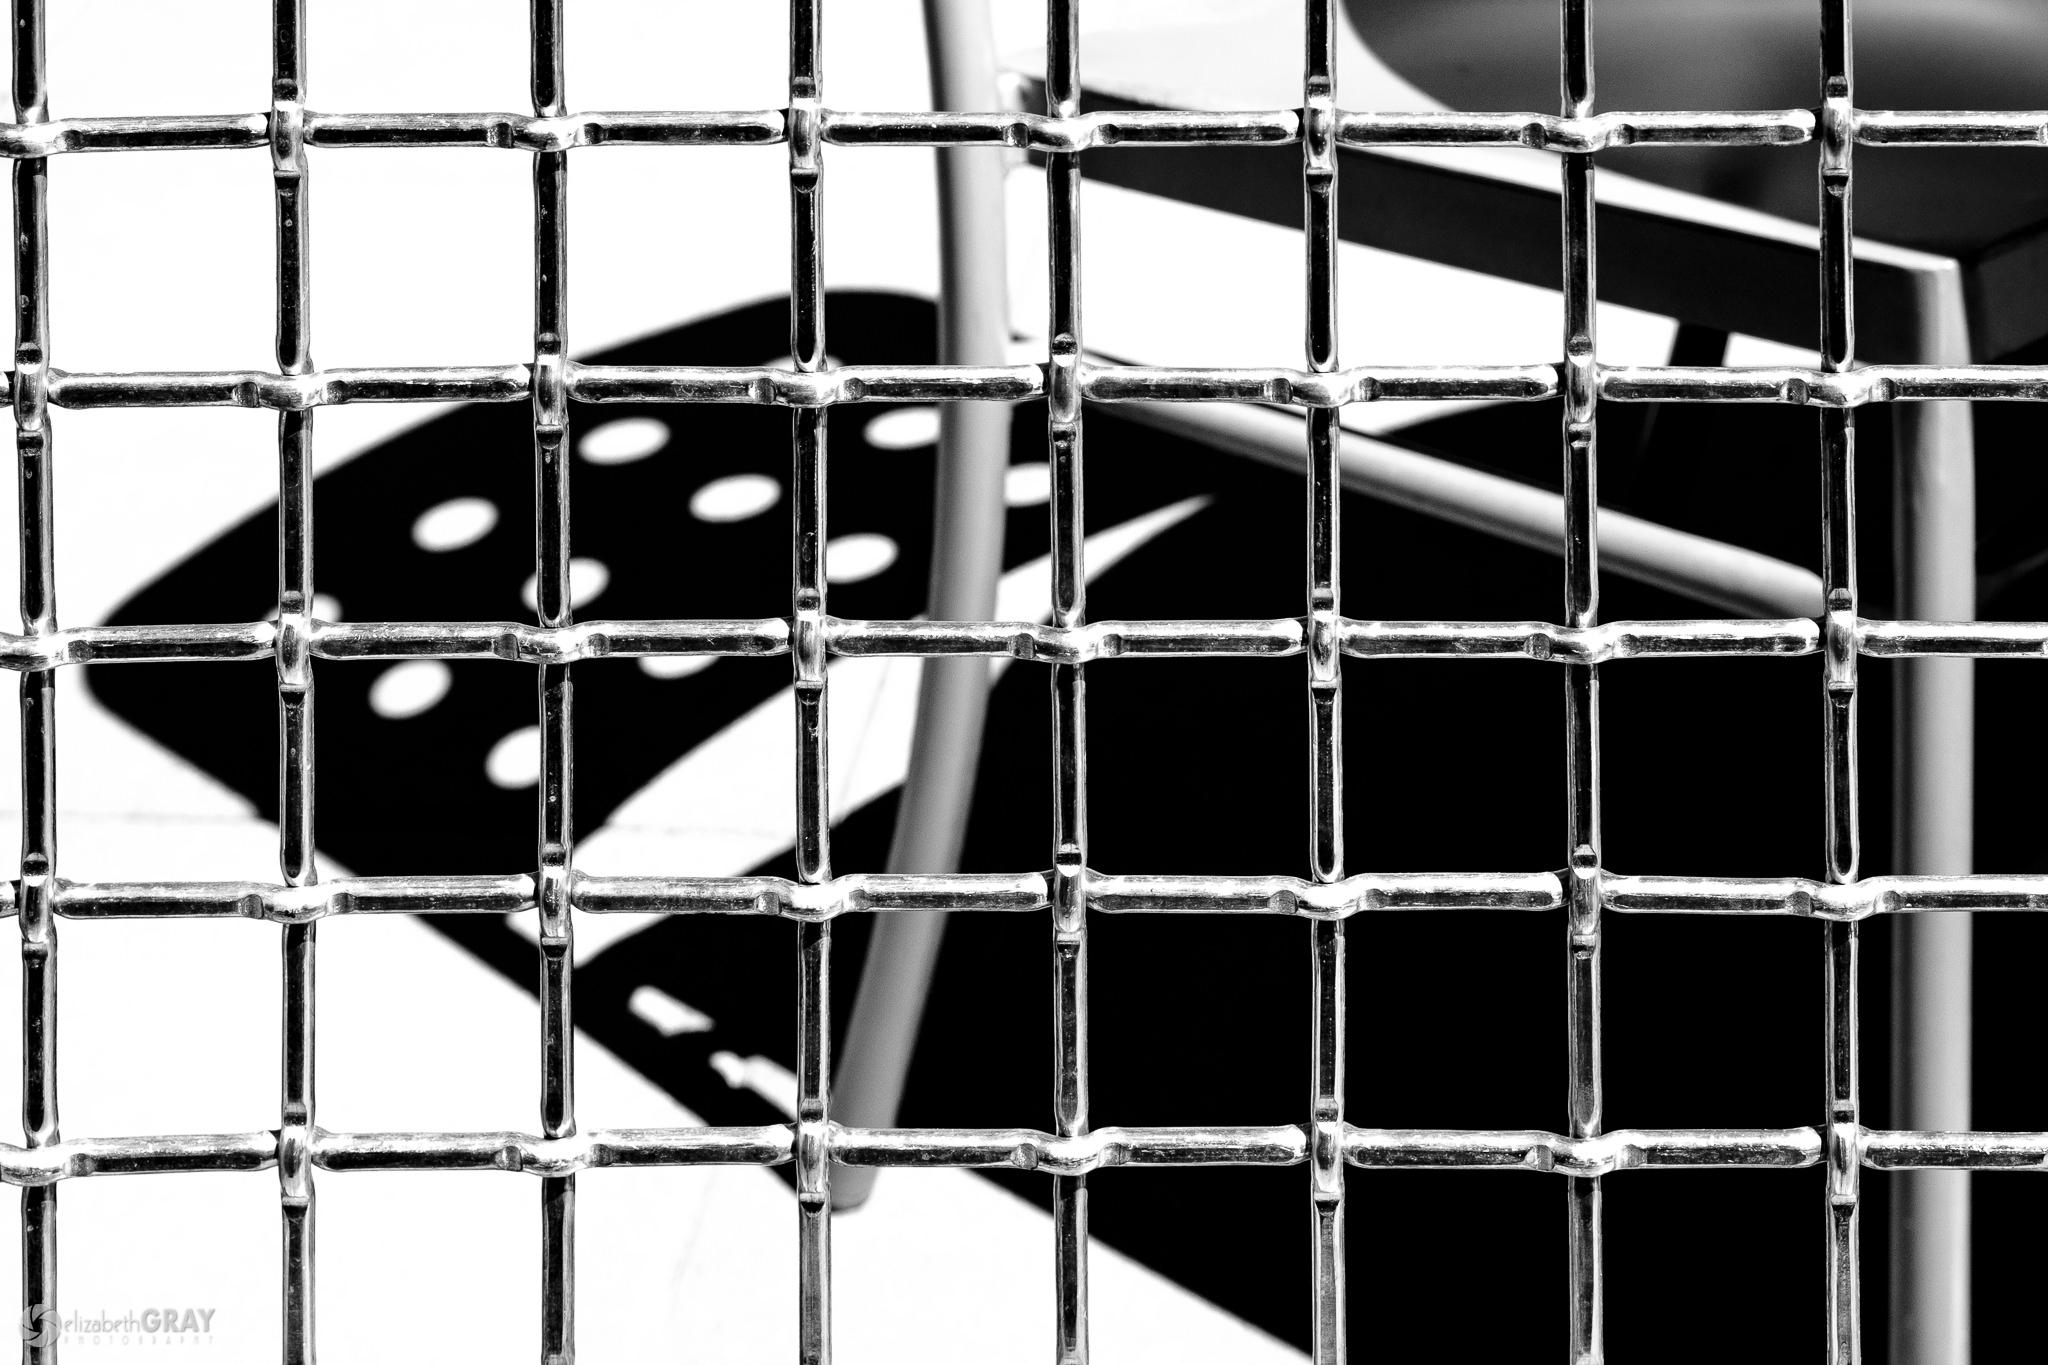
Don’t ever let anyone tell you that you cannot shoot in harsh light! I love the deep shadows and bright light that hide and reveal subjects in a frame. Learning to see opportunities where light and shadow play together takes a bit of practice. However, once you learn how to take advantage of these lighting situations, you can have a lot of fun. So, today I want to show you how I captured and processed a few images which illustrate this. I took them last week on a short road trip to Victoria.
Working Hands
This image is a perfect example where harsh light played to my advantage. While wandering through Chinatown I came across a fellow loading a van. It was 3:00 pm and the sun was high and shining from behind the van. As a result, the side of the van was in shadow. However, the bags and boxes, which were white, were sitting in the direct sunlight. The fellow was dressed in black and blended in perfectly with the shadows in the van.
Now, many of you know that I shoot with a Fujifilm X-T2 and X100F. These cameras produce beautiful jpg’s. Typically, I shoot raw+jpg. However, I often prefer the jpg’s over an edited version of the raw file. I have several custom settings which I access through the quick menu in each camera. In this case, I selected my high contrast black and white preset. In this custom setting, I have the shadow and highlight tones set to +4, sharpness set to +2, and my film simulation to Acros+R. This setting gives me a dramatic image, which is more artsy, than documentary in style.
I noticed that when the man leaned over to pick up the boxes, his hands caught the sunlight. With my camera set, I waited until he picked up another box and fired off several shots.
Here is the unedited raw file, and the jpg straight out of the camera (SOOC).
Working with the jpg, I applied some perspective corrections in Lightroom, and a slight crop to remove the distractions on the left side of the frame. I also dropped the black point a bit to further deepen the shadows. To finish the image off, I nudged the clarity up and dropped the contrast a bit. I spent no more than 30 seconds editing the image.
Light and Shadow – What to Look For
When you are looking for situations where shadows and light intermingle, pay attention to the direction of the light. I try to position myself so that the sun is behind me. This way it will reflect off the faces of subjects moving towards me.
I look for areas that are mostly in the shade, but where light passes through openings. As people move through these patches of light, their features become highlighted against the shadows behind them. Look for people wearing light colours that will stand out from the shadows, or dark colours that will fade into them.
Sidewalks that are half in the shade and half in the sun are excellent locations to capture pictures with strong light and shadows. Stores with large awnings work well. With a bit of luck, someone will stroll down the sunny strip, and you will be able to capture them set off by the deep shadows. Or if you get really lucky, you will have one figure silhouetted in the shade and someone highlighted in the light!
The fall and winter, when the sun is low on the horizon, provide incredible opportunities for capturing long shadows punctuated with light. And the shadows last much longer than in the summer.
An important thing to remember when you are shooting for light and shadow is to metre the exposure properly. I like to use my exposure compensation dial to pull back the exposure by one, two, or even three stops. Doing this exposes the image correctly for the highlighted area, and underexposes the shadows. The result is deep blacks and properly exposed brighter areas. You can also use spot metering, but I find it harder to react to quickly changing scenes this way.
Lastly, it is important to understand what happens to colours in an image when you convert to black and white. Using colour filters with your conversions will change how dark or light different colours are represented. For example, a red filter dramatically darkens blues and greens while lightening yellows and reds. They make a blue sky almost black and add a lot of contrast to images. A green filter will darken reds while it lightens green tones. Instead of just converting to B/W, play with the different colour filters in-camera or in post-production. Start to recognize situations in the field that will lend themselves well to contrasty B/W conversions.
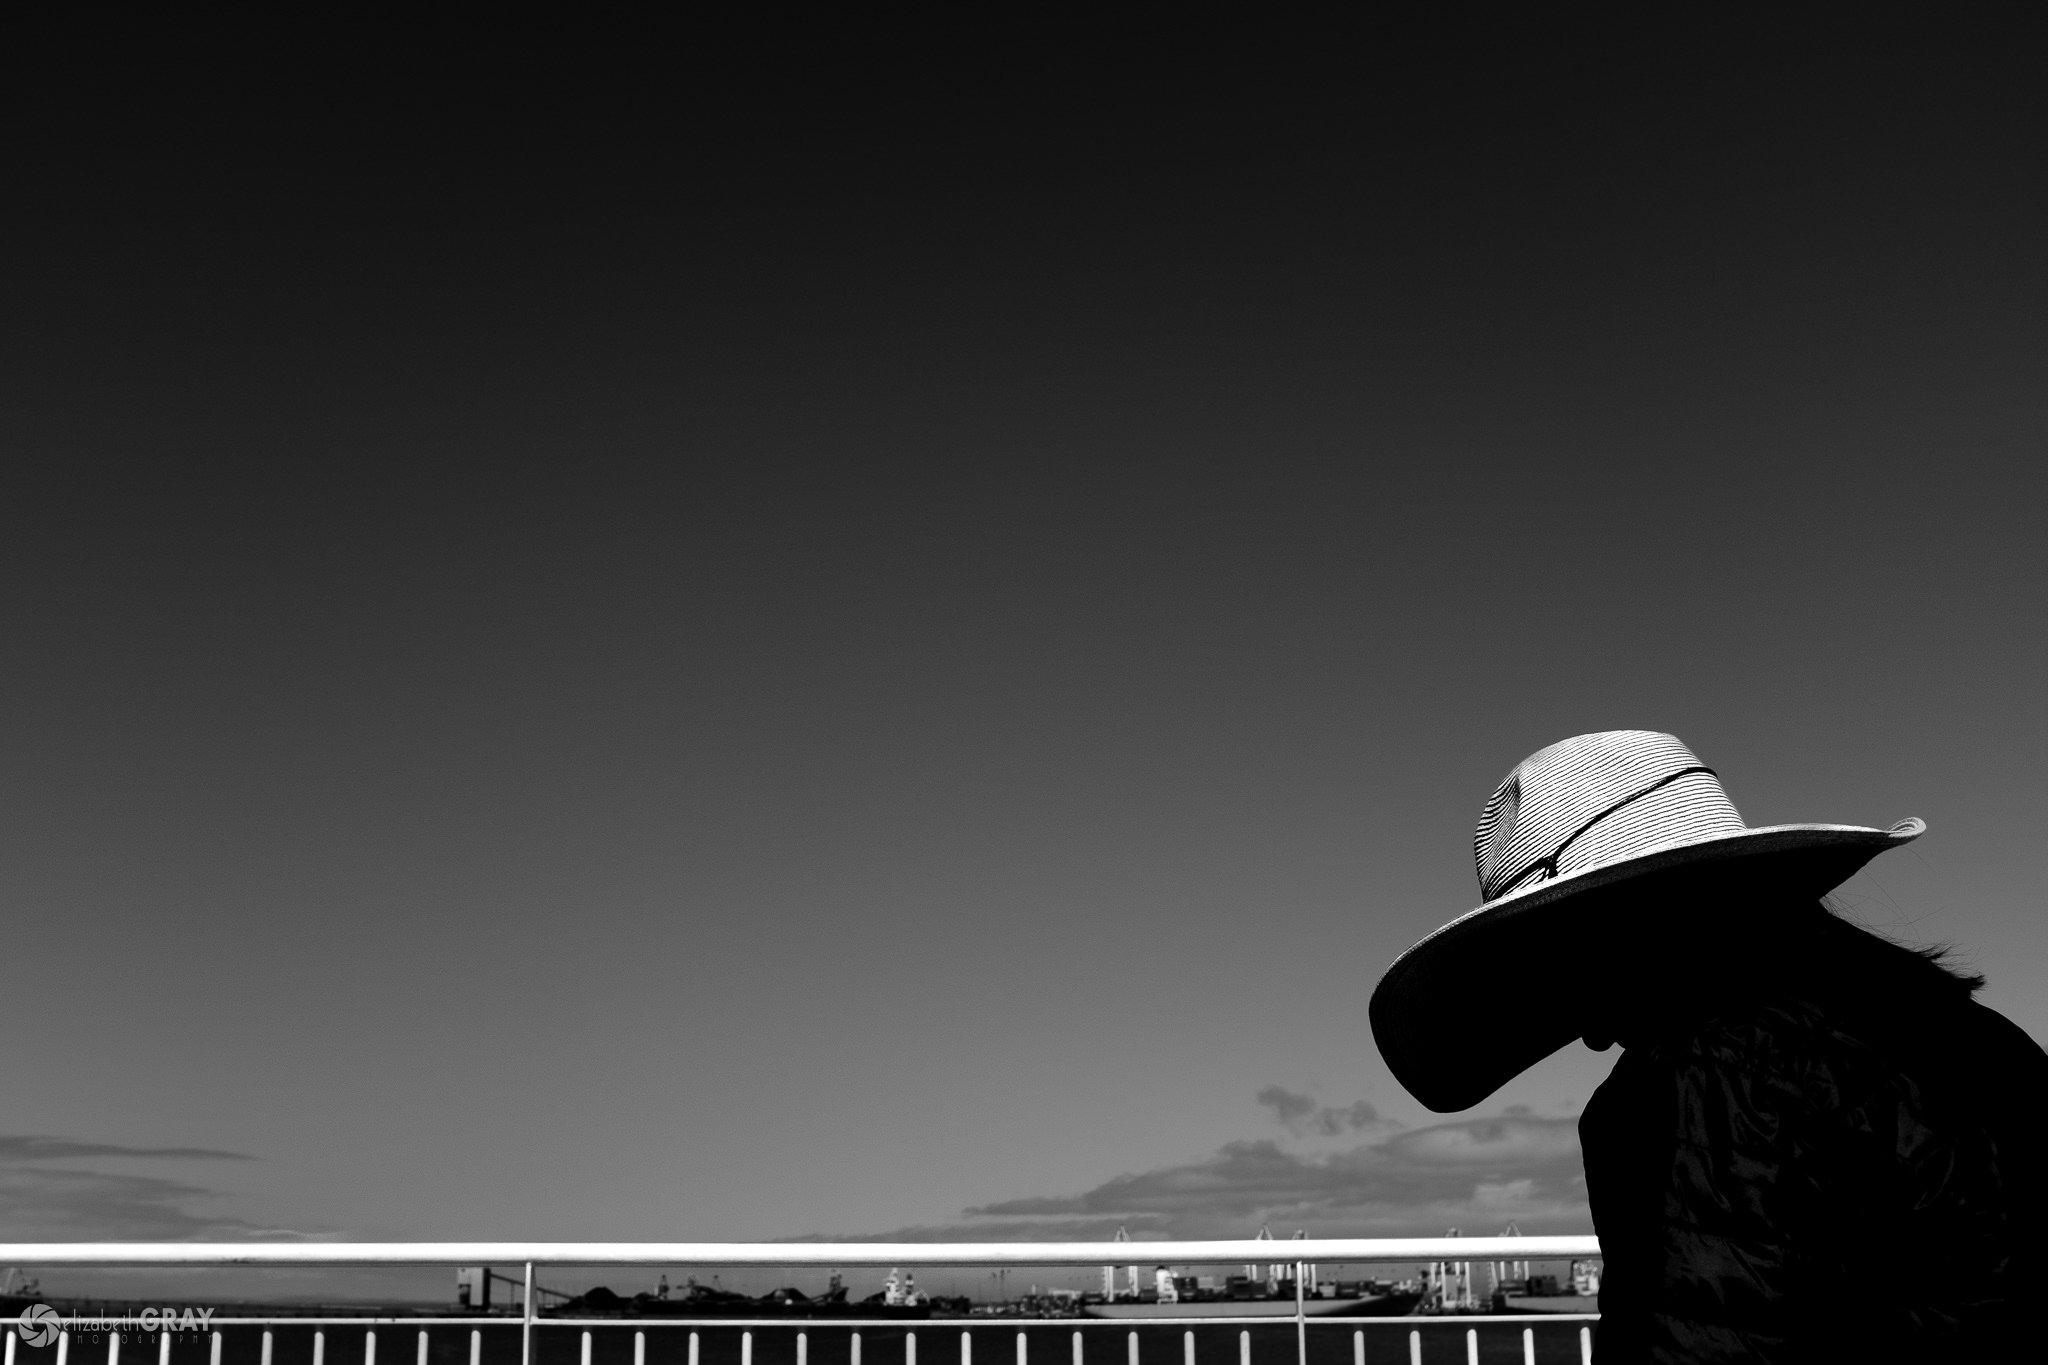
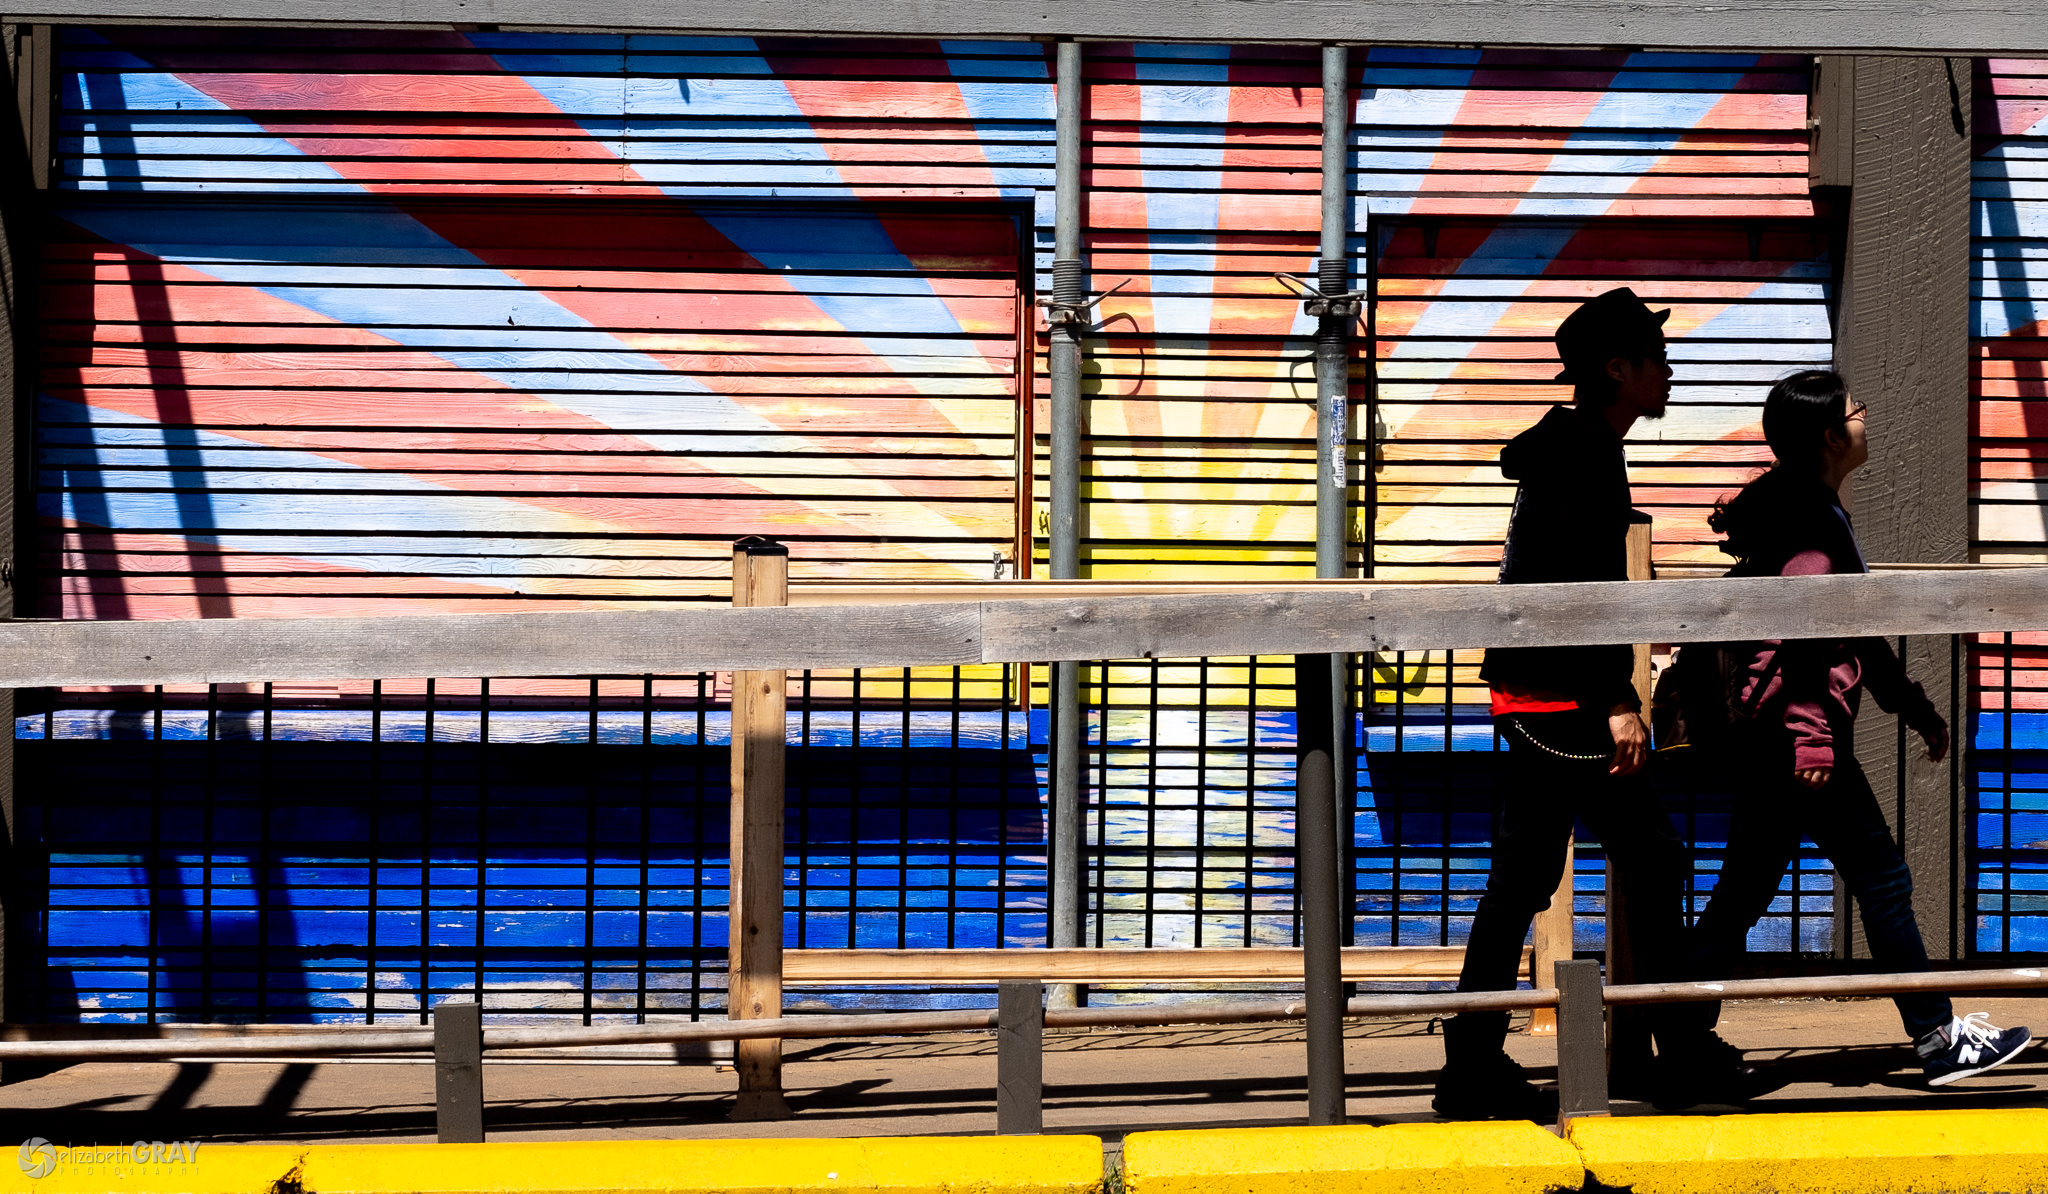
Here is a selection of some of my previously published images where I have used strong light and shadow to add interest to the photograph.
Pigeons and a Crow
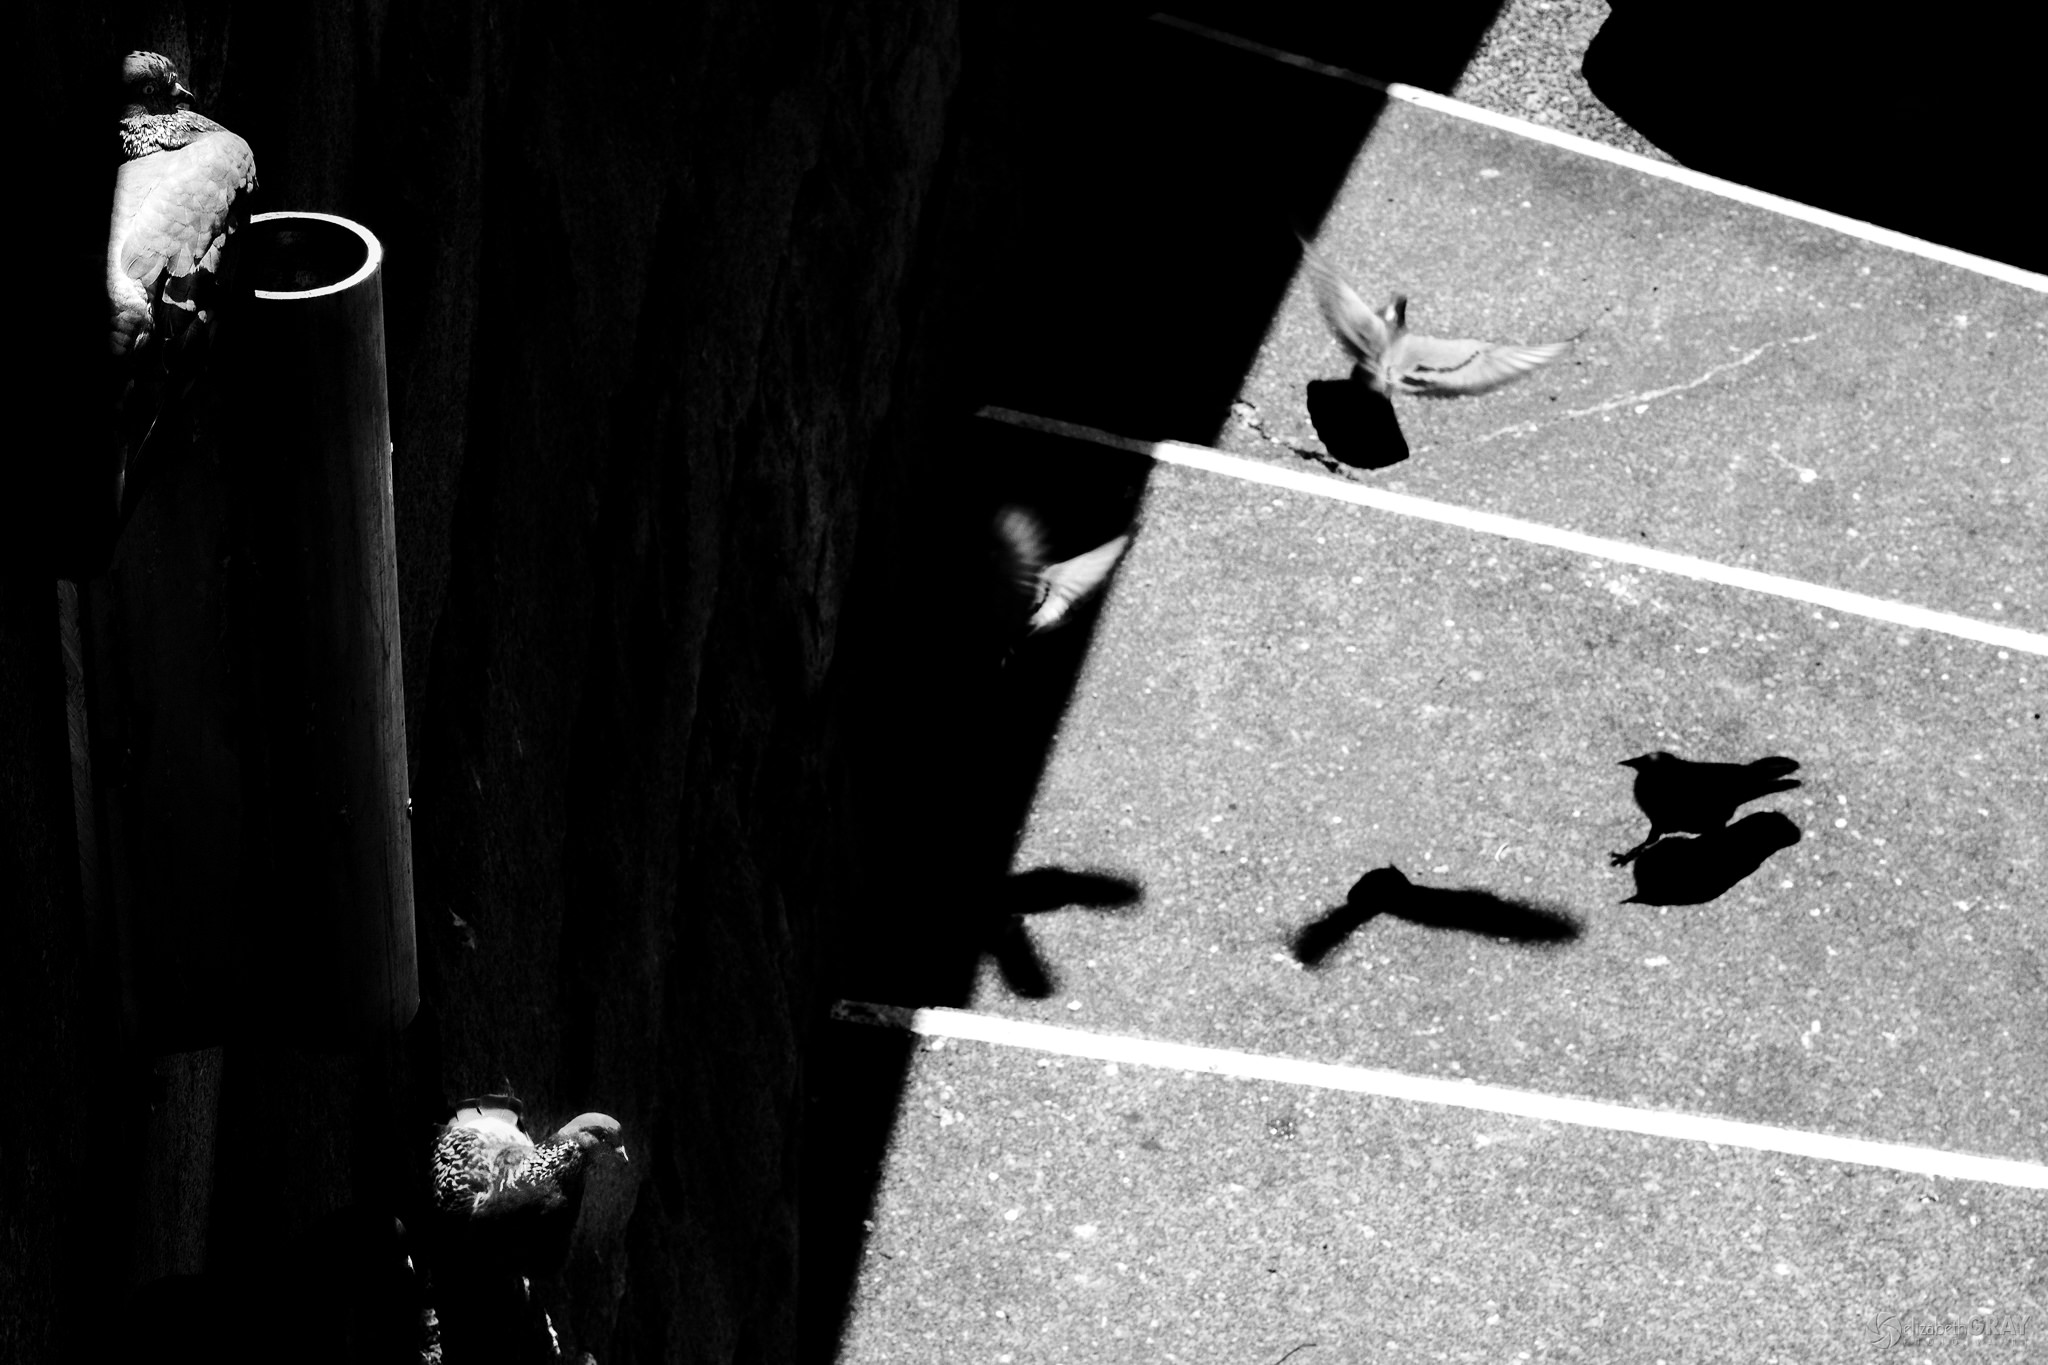
The inner harbour in Victoria has a tall seawall surrounding it. As I walked along the bottom, I noticed some pigeons sitting on a drain pipe. The sun was such that most of the wall was in shade, but the birds’ heads were just catching the sunlight. I knew that the shadows would add a large negative space and would set off the light reflecting from the backs of the birds well. Creating the image from my low vantage point would not create the look I wanted. To take advantage of the light and shadow the shot needed to be taken from above.
After a short walk, I found the stairs up to the road and a good vantage point to create the image I imagined. I got lucky when several more pigeons gathered on the ground. Using the same high-contrast preset, I captured my image. As I did, a crow flew into the frame and startled the pigeons on the ground. I knew the shadows of the birds in flight, and the black crow would add more interest to my image.
Again, I have included the original raw file, the SOOC jpg, and my final edited version of the jpg.
Hold On! You Can’t Edit a JPG!
You may wonder why I edit the jpg and not the raw file sometimes. Many photographers will tell you that the jpg doesn’t have enough data in it to edit. While this may be true, if your in-camera settings are correct, then you won’t need to make huge adjustments. The jpg’s will only need to be tweaked. Since a heavy hand on the sliders is not needed, you won’t have any issues! So don’t get lazy, make sure that you get the correct settings in-camera before you take your shot!
I find the sharpness of Fuji’s jpg’s are superior to the raw files edited in Lightroom. This is especially true when it comes to images shot at high ISO’s. Fuji does a much better job of dealing with noise than Lightroom does! And yes, I could use a different post-processing program, but it is hard to teach an old dog new tricks! Although, as an aside, I have played around with Alien Skin’s Exposure X3 and found it quite good. I wrote a review on the software over at Photography Life. The reason I liked it so much, is because of its similarity to Lightroom. However, I digress.
Lanterns
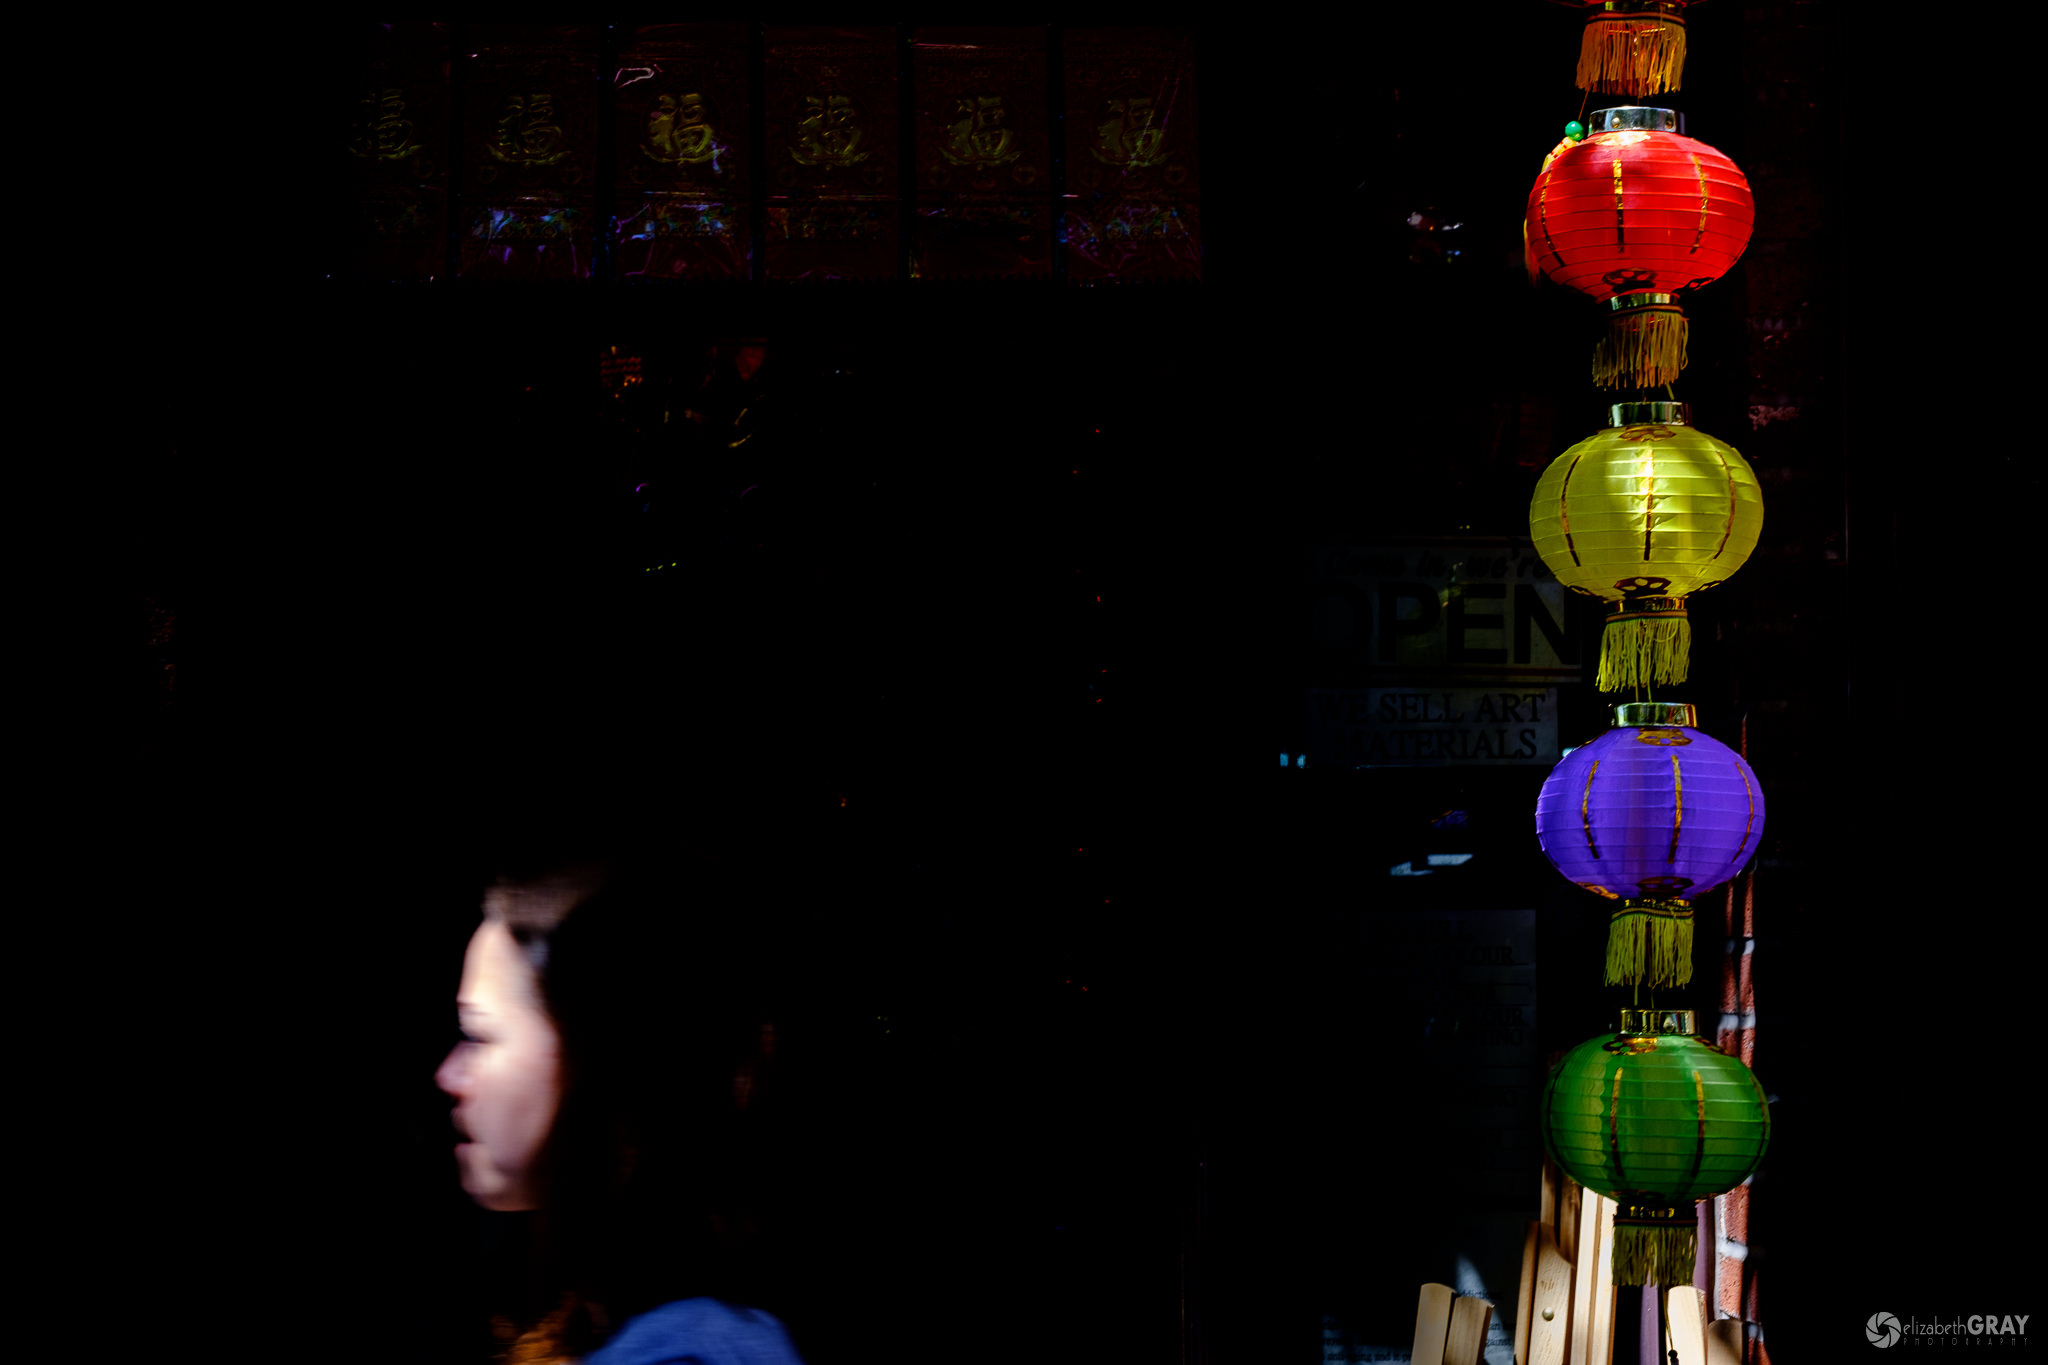
In this image, I noticed the patches of light filtering through the trees. One bit of sunlight hit the lanterns and another was catching pedestrians as they walked by. I could see this was a good opportunity to create a high contrast image. The darker shadows inside the store would set off the highlights well. There are times when the jpg doesn’t quite cut it and I end up editing the raw file. In this image, I felt the contrast of the SOOC jpg was too high, and there were too many bright areas detracting from the girl and the lanterns, so I chose to edit the raw file. Here is the raw file and the SOOC jpg.
Now, some photographers will tell you that they hardly edit in post! Well, that may be the case, and good for them. But I am a creative, and when I see that an image could benefit from a more drastic post-processing approach, I go for it! I don’t add or remove elements by cloning or by using content-aware-fill to my street images. However, I will hide elements by darkening them to match the shadows around them if I am looking for a more artistic look. That was the case in this image. To start with, I adjusted the overall exposure in the raw file until I was happy with the majority of the image. To do this I lowered the highlights, whites, and blacks and increased the shadows a bit in Lightroom. I did not feel that the contrast or clarity needed any adjustment, so I left those alone.
To finish the image I and added some gradients to the vertical edges of the photo to eliminate the bright areas. And I used the radial tool to bring out some light inside the lanterns and darken the shadows behind them. The brush tool allowed me to remove the final distractions.
The entire editing process for this image was about 30 minutes, but spread over several days. Because I was making more drastic edits, I knew that I had to give myself time between the edits and the final version. I talked about that last week in my blog, Workflow and a Glass of Wine! Otherwise, it is easy to go overboard with the sliders!
Experiment, Play and Have Fun!
When you create a photograph, you are an artist, and the light is your paintbrush. Don’t be afraid to use those inky blacks and bright whites in your creations. Light and shadow are an essential part of all photographs. Shadows add mystery and give your viewer something to ponder. Highlights are like an exclamation mark and add excitement and tension to your work. So the next time the sun is bright and the light is harsh, grab your camera and take advantage of the fantastic opportunities. You will be amazed at what you can find once you start looking.
As always, have fun, and thanks for reading. I’ll leave you with a few more light and shadow images from Victoria. Cheers until next time!


